Introducing the X-Paint Tips &Tricks Series
“The new Tips & Tricks section of the website launches soon”
With practical workshop insight into how to paint a helmet properly – focussing on preperation, masking and airbrush control.
Short. Useful. Built from real-world helmet painting experience.
What This Series Is (And What It Isn’t)
This isn’t a full helmet painting course.
It’s a workshop-based Tips & Tricks series built around small adjustments that make a big difference when painting crash helmets.
Airbrush control. Masking discipline. Product insights. Preparation details that stop problems before they happen.
Short. Practical. Real-world.
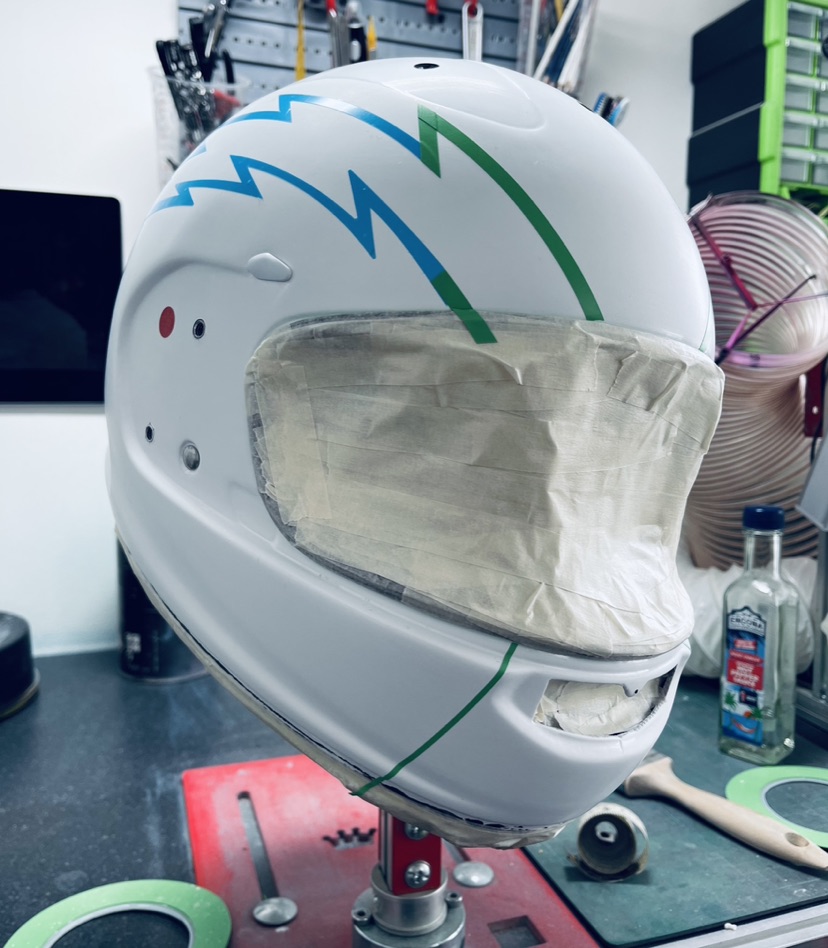
Every finished helmet you see in the gallery started at this stage — stripped, prepped, masked and ready for precision work.

Tip #1 – Masking Is Everything
If you’re learning how to paint a helmet, understand this early: sharp lines are not created by the airbrush — they’re created by masking.
On curved helmet shells, poor tape choice or poor application will cost you hours in rework.
- Apply tape with controlled tension
- Seal edges properly before spraying
- Remove at the correct flash stage
- Pull back on itself — not upwards
These small adjustments separate clean professional finishes from frustrating edge bleed and lift.
This series will highlight the exact workshop habits that make custom helmet painting cleaner, faster and more consistent.
Tip #2 – Airbrush Control Beats Expensive Equipment
People obsess over airbrush brands and compressor size.
Control matters more.
- Stable pressure
- Moisture management
- Trigger discipline
- Light, controlled passes
When painting a helmet, heavy-handed spraying creates texture, uneven coverage and unnecessary clear build.
Layering lightly gives depth. Control gives consistency.
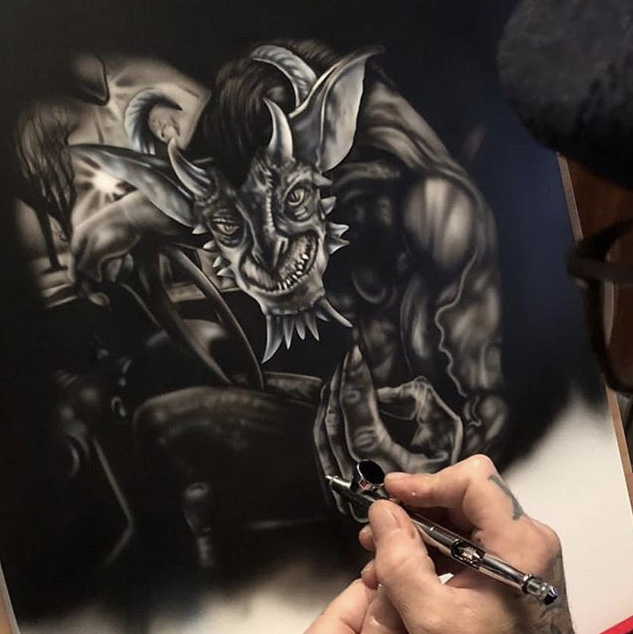
This is the kind of practical workshop insight we’ll continue to break down in the Tips & Tricks section.
Built in the Workshop. Shared Properly.
The new X-Paint Tips & Tricks section isn’t about theory.
It’s about real-world workflow improvements that make helmet painting cleaner, sharper and more consistent.
Short updates. Practical insight. No fluff.
Every finished helmet starts with preparation, masking discipline and airbrush control. The gallery only shows the final result — this series shows the thinking behind it.
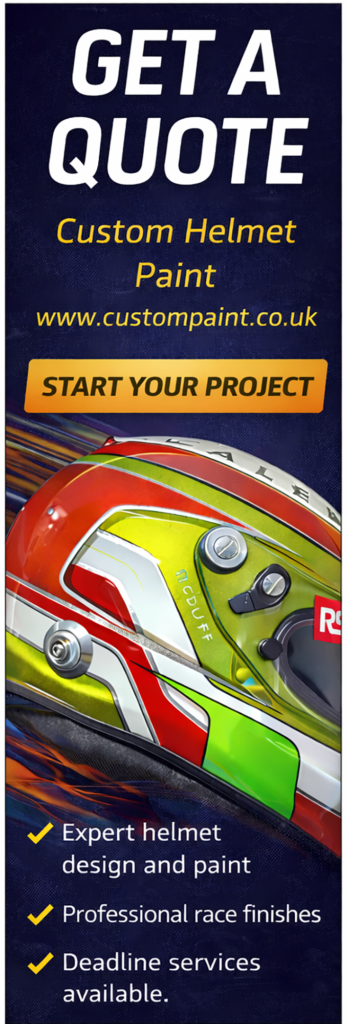
Explore finished projects in the Helmet Gallery or visit the Custom Helmet Painting page for commissioned work.
More workshop tips coming soon.

Recent Comments